
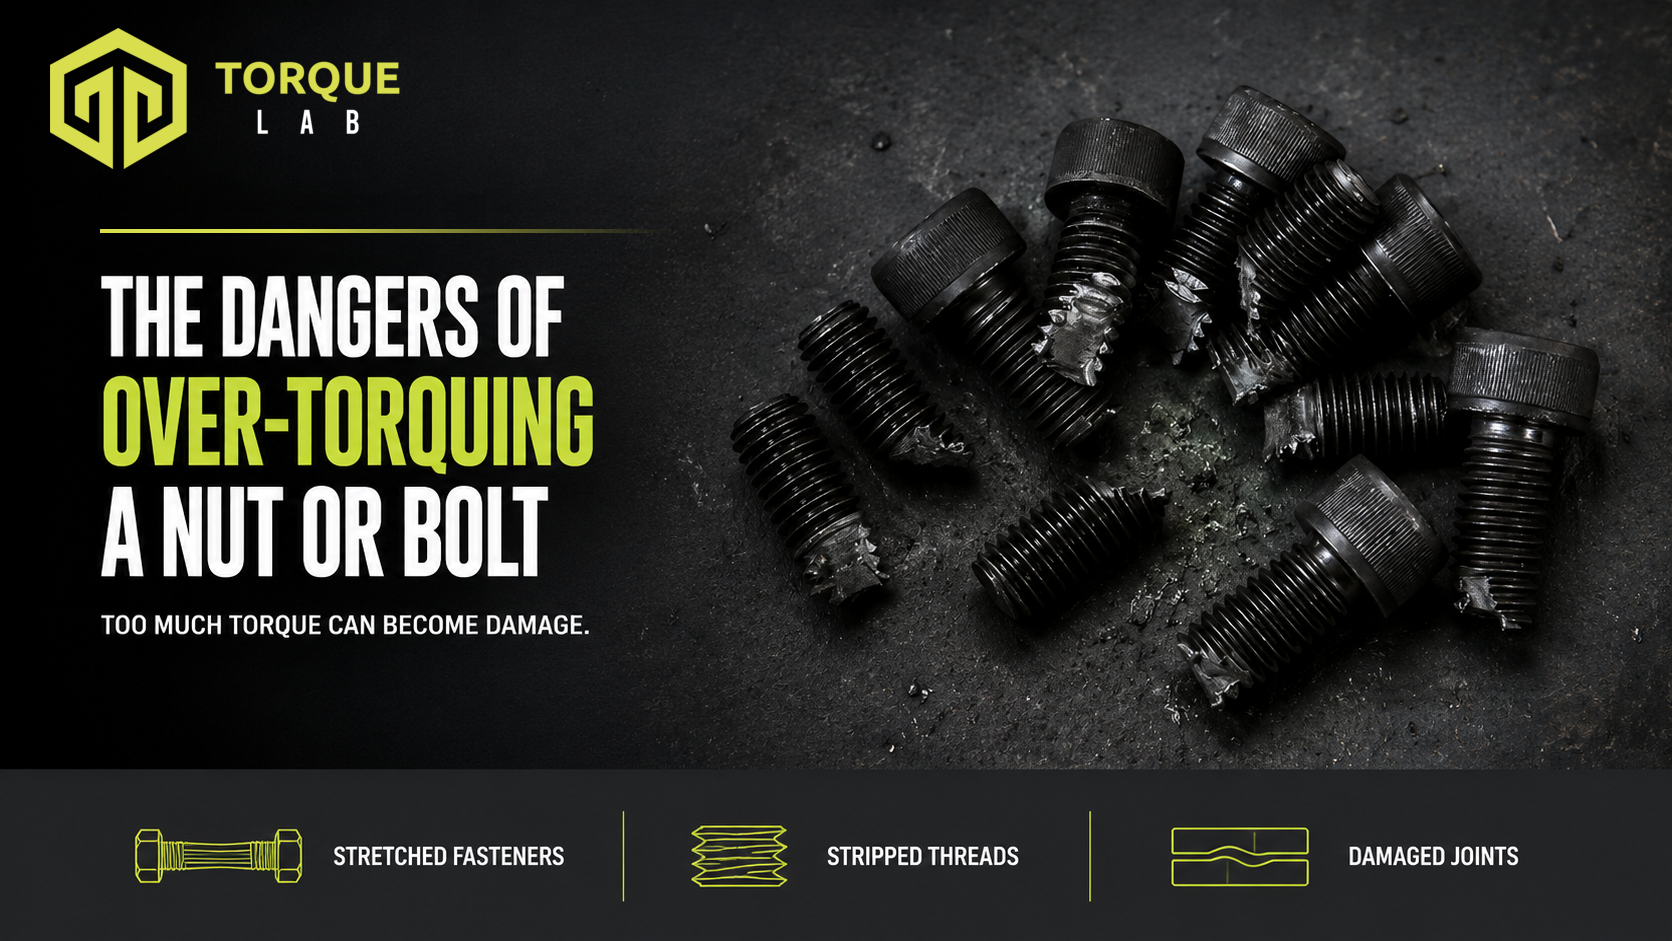
Applying the correct torque to a nut or bolt is intended to create a suitable clamping force in the joint. Applying more torque does not necessarily make the connection safer. Over-torquing a bolt can stretch the fastener, strip threads, distort components and leave a joint less reliable than it appears.
The damage may happen immediately, or the assembly may remain in service with a weakened fastener or crushed component. Understanding what torque is doing inside a bolted joint helps explain why the specified value, tightening condition and tool all matter.
What Does Over-Torquing Mean?
Over-torquing occurs when a nut or bolt is tightened beyond the value or tightening condition specified for the assembly. That condition includes more than the number printed in a manual. It can also cover the fastener grade, coating, lubrication, washer arrangement, tightening sequence and whether the fastener is new or reusable.
When a bolt is tightened, it stretches slightly and creates tension called preload. The joint responds with a clamping force that holds the parts together. Within its intended elastic range, the bolt should recover when the load is removed. If tightening carries the bolt beyond its elastic range, it may yield and remain permanently elongated.
Torque is an indirect way of controlling preload. A substantial portion of the applied torque is consumed by friction in the threads and beneath the rotating nut or bolt head. For that reason, the same torque can create different clamp loads when friction conditions change.
Why Over-Torquing a Bolt Is Dangerous
The result of excessive torque depends on the fastener, the female thread, the joint materials and how far the intended load has been exceeded. Common failure modes include the following.
Permanent Bolt Stretch
A correctly loaded bolt behaves like a spring within its elastic range. Excessive tightening can take it past its yield point, producing permanent stretch. The change may be concentrated in the threaded area or appear as necking in the shank.
A yielded bolt no longer has the properties assumed by the joint designer. Even if it has not snapped, its remaining strength and response to service loads may be uncertain. Backing the nut off to the specified torque does not undo permanent deformation.
Bolt Fracture
If tightening continues, the bolt can fracture during installation. In other cases, excessive initial stress leaves less margin for the loads, vibration and temperature changes the joint will experience in service.
Fracture is not always clean or obvious. Part of the bolt may remain inside a blind hole, creating additional repair work and a risk of damaging the component during extraction.
Stripped Threads
Excessive tightening can shear or pull the threads from the bolt, nut or tapped hole. The weaker threaded component may fail first. This is particularly costly when the female thread is part of an expensive housing, casting or machine component.
A fastener that suddenly turns without building torque may have stripped threads, but that symptom can also have other causes. Stop tightening and inspect the assembly rather than continuing to rotate the fastener.
Distorted or Crushed Joint Components
The fastener may survive while the clamped parts are damaged. Excessive bearing pressure beneath a bolt head, nut or washer can mark, indent or deform the surface. Thin flanges and covers may bow, while soft materials can be crushed.
This can alter alignment, reduce joint stiffness or create an uneven load distribution. Distortion around precision components can also interfere with moving parts or change clearances.
Gasket and Sealing Damage
More torque is not automatically better for a sealed joint. Excessive clamp load can crush a gasket, force it out of position or distort the mating flanges. The connection may then leak despite feeling extremely tight.
Many gasketed assemblies require a defined tightening sequence and several staged passes so the clamping force is distributed evenly. Applying the final torque to one fastener at a time without following the specified pattern can create local overloading and distortion.
Damaged Drives, Sockets and Torque Tools
Over-torquing can round a fastener head, damage an internal hex or overload the socket and drive components. It can also harm a torque wrench if the tool is forced beyond its rated capacity.
A torque wrench that has been overloaded should be removed from service and assessed before it is relied on again. Its internal mechanism can be affected even when there is no obvious external damage.
Common Causes of Over-Torquing
Most incidents are not caused by a single dramatic mistake. They usually result from a mismatch between the specification, fastener condition, tool and technique.
Common causes include:
- using an incorrect torque value for the fastener grade or assembly;
- confusing N·m, lbf·ft, lbf·in or another unit;
- applying a dry torque specification to unexpectedly lubricated threads;
- using the wrong lubricant, coating or anti-seize compound;
- continuing to pull after a click-type wrench has signalled;
- repeatedly clicking the wrench on the same fastener;
- finishing the joint with an impact wrench without controlled verification;
- using an extension or adaptor without accounting for its effect;
- applying force away from the torque wrench’s intended loading point;
- using a tool outside its suitable operating range;
- using a wrench that is damaged or outside its required calibration status; or
- ignoring the specified tightening sequence or staged procedure.
Lubrication deserves particular attention. Reduced friction generally means that more of the applied torque can become bolt preload. Applying the same torque after changing from a dry to a lubricated condition can therefore produce substantially more clamp load. Never add lubricant simply because it makes the fastener easier to turn unless the assembly specification permits it.
Signs a Fastener May Have Been Over-Torqued
Some failures are obvious, while others cannot be confirmed by visual inspection alone. Warning signs can include:
- exposed threads or a bolt shank that appears elongated or necked;
- damaged, flattened or missing thread crests;
- metal debris around the threads;
- a rounded head, damaged drive or cracked socket;
- a nut or bolt that continues turning without increasing resistance;
- crushed washers, gaskets or clamped materials;
- distortion around the joint or uneven flange gaps;
- cracking around a threaded hole;
- a leak appearing after tightening; or
- an unusual release, click or loss of resistance during installation.
Removal torque is not a reliable way to prove what tightening torque was originally applied. Friction, corrosion, embedment, temperature and time in service can all change the torque required to loosen a fastener.
Likewise, the absence of visible damage does not confirm that the fastener remains serviceable. Where the joint is important, the correct response should be based on the manufacturer’s instructions, engineering requirements and the circumstances of the incident.
What Should You Do After Suspected Over-Torquing?
Do not simply loosen the fastener and tighten it again to the specified value. If the bolt has yielded, the threads have been overloaded or the joint material has been crushed, reducing the torque setting cannot reverse the damage.
A sensible response is to:
- Stop work and identify the affected fastener or assembly.
- Record the value, tool, units, lubricant and tightening method that were used.
- Follow the equipment manufacturer’s or responsible engineer’s instructions.
- Replace the fastener where required, particularly if it is a torque-to-yield or single-use type.
- Inspect the nut, tapped hole, washer, gasket and clamped components—not just the bolt.
- Check other fasteners installed using the same tool, setting or procedure.
- Assess the torque wrench if overload, damage or incorrect performance is suspected.
Repairs such as thread inserts or replacement tapped components should be performed under an approved repair method. A visually tidy repair is not automatically suitable for the original joint load.
How to Prevent Over-Torquing a Nut or Bolt
Use the Assembly Specification
Use the torque value supplied for the actual assembly rather than selecting a generic value based only on bolt diameter. A valid instruction should identify the relevant fastener, units and tightening condition. It may also specify lubrication, sequence, stages, torque-angle steps or replacement requirements.
Generic torque charts can be useful engineering references, but they cannot account for every joint material, surface finish, lubricant, gasket or service load.
Confirm the Units Before Starting
Unit errors can produce large mistakes. N·m and lbf·ft are not interchangeable, and lbf·in values can be misread as lbf·ft. Confirm the unit on the instruction, the torque wrench and any digital display before applying load.
Where settings are converted, use a controlled conversion and record the final value in the unit shown on the tool.
Select a Suitable Torque Tool
Choose a wrench with a capacity and drive size appropriate for the target torque. Do not use a small wrench at or beyond its maximum setting because a larger tool is unavailable. Our guide to choosing the right torque wrench size explains why the operating range matters.
Use sockets and adaptors that are rated for the task and in sound condition. If a crowfoot or other extension changes the effective lever length, calculate or set the required correction using an approved method.
Apply Torque Smoothly
Pull steadily at the manufacturer’s nominated loading point and keep the wrench aligned with the fastener. Avoid jerking, side loading or holding the wrench partway along the handle unless the design permits it.
With a click-type wrench, stop when the signal is felt or heard. Do not add a little more “for luck”, and do not use several clicks as confirmation. For controlled assemblies, follow the specified tightening order and staged passes.
Control Friction Conditions
Ensure the threads, washers and bearing surfaces match the specified condition. Dirt, corrosion, coatings, damaged threads, lubricant and anti-seize products can all change the relationship between torque and preload.
If the process requires lubrication, use the nominated product and amount. If the specification is for dry threads, do not lubricate them without authorisation. The Nord-Lock explanation of torque, preload and friction provides a useful overview of why these variables matter.
Keep the Torque Wrench Under Control
Calibration evaluates the wrench’s performance under defined conditions. It cannot correct an incorrect assembly specification or poor technique, but it helps reduce the risk of an inaccurate tool adding another uncontrolled variable.
Set calibration or conformance-check intervals according to the manufacturer’s instructions, frequency of use, service conditions, previous results and application risk. Have the tool assessed earlier after a drop, overload, repair or unexplained tightening problem. You can read more about professional torque wrench calibration.
Correct Torque Protects the Whole Joint
The purpose of controlled tightening is to create the required joint preload without damaging the fastener or the parts being clamped. Over-torquing a bolt can replace a controlled joint with stretched metal, damaged threads, distorted components and uncertain performance.
Use the correct assembly specification, verify units and friction conditions, apply torque with suitable equipment and stop when the required value is reached. If over-torquing is suspected, treat it as a joint issue—not merely a number that can be corrected by backing the wrench off.
Torque Lab can inspect and calibrate torque wrenches to help confirm that the tool is performing as intended.
Contact us today to discuss your calibration & repair needs.